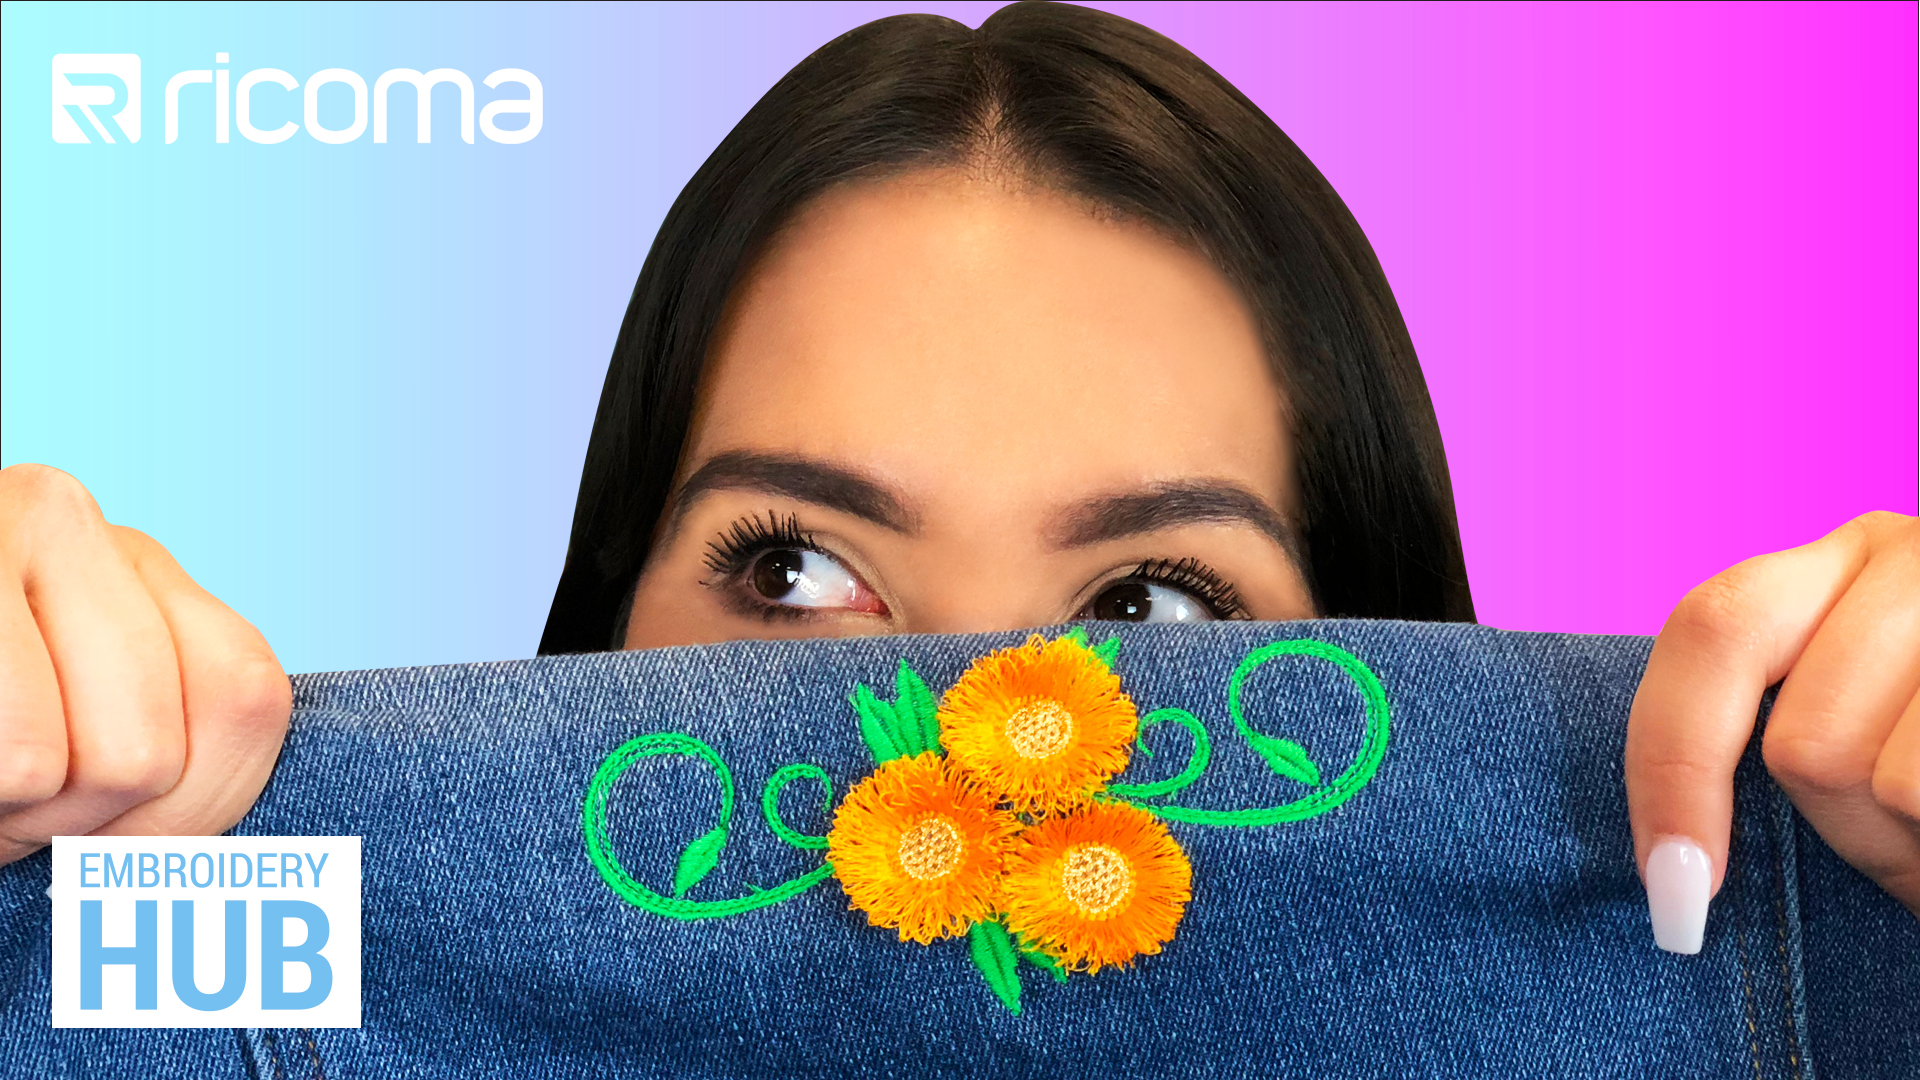
Fringe flower embroidery: How to embroider 3D floral embroidery on denim

"Fringe opens up unique opportunities for all kinds of projects from art quilts to embroidery on clothing."
Complete the form below for
your complimentary consultation!X
In this episode of Embroidery Hub, Laura goes over how to do fringe flower embroidery on denim using our commercial embroidery machine, the Ricoma 1501-TC. Fringe embroidery designs add an unexpected layer of texture and depth to your projects. Making fringe using an embroidery machine opens up some unique three-dimensional opportunities for all kinds of projects from art quilts to embroidery on clothing. And it is so easy to do!
There are two types of fringe that can be made. One is loopy, and the other is cut and fuzzy. The basic structure of machine embroidery fringe is created with a very wide satin stitch of up to about 10 mm. The wide satin stitch is then anchored on one side with a narrower running stitch, satin stitch, or a fill. When the embroidery is complete, it is turned over to the back side of the stitching, and the bobbin stitches are clipped close to the anchor stitches. The remaining bobbin thread is removed by plucking it out with fingers or blunt tweezers. The embroidery is turned to the right side and the satin stitches are pulled to the top to create the fringe. Add stunning style and texture to your embroidery with this technique! Give a ferocious lion a furry mane or a clever fox a bushy tail with this embroidery technique.
What you'll need:
- Fringe embroidery design
- Water soluble stabilizer
- Snips
- Cutaway or tearaway stabilizer
For more embroidery tips and machine embroidery projects, make sure to watch our machine embroidery tutorials on YouTube and join our Facebook community, Embroidery and Custom Apparel Mastery.


